Find a comfortable starting fit
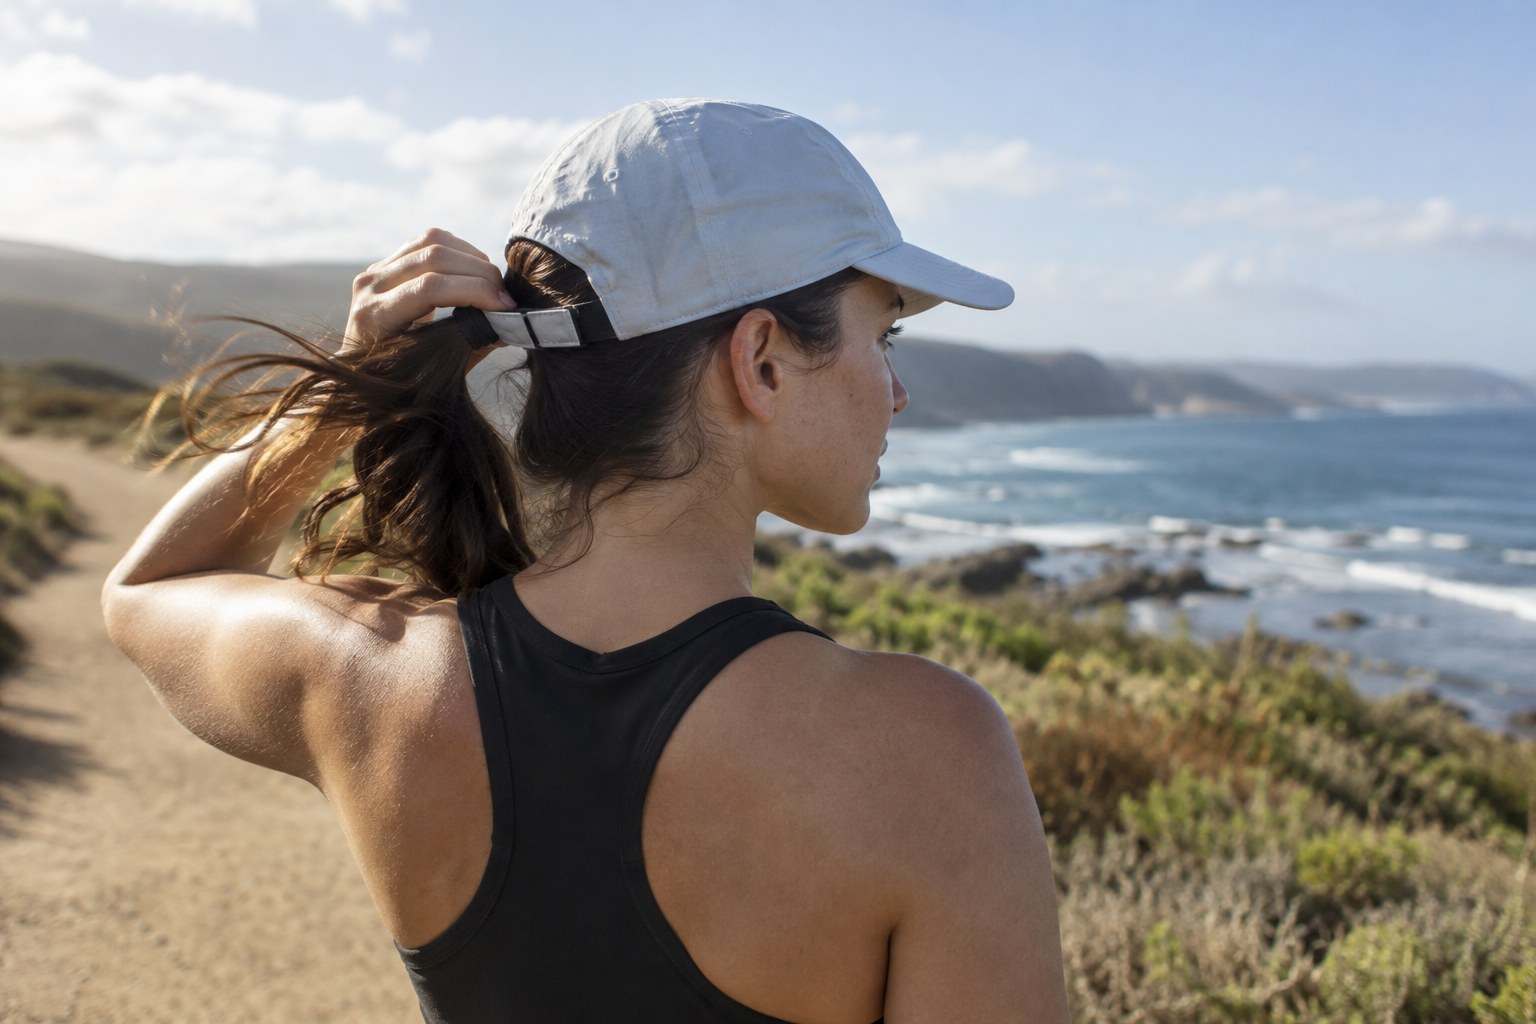
Put the cap on as intended and use the adjustment without forcing it. Check the contact around the forehead and the position of the closure at the back. If it sits over a ponytail, beneath a hood or near a headlamp strap, include that combination in the fitting. A cap tried on alone has not yet been tested as part of the outfit.
Look down and to both sides. Make sure the brim does not hide the ground or require you to hold your head awkwardly. Compare the actual field of view rather than assuming that a longer brim is automatically better. If the fit depends on excessive tension, another size or shape may suit you better.
Try ordinary movement first
Walk and jog briefly near home, turn your head and bend as you would to reach a pocket. Notice sliding or the urge to keep touching the cap. Make one adjustment and repeat. A short trial in ordinary conditions can reveal a poor fit without needing a windy hilltop to expose it.
Read any instructions for a retaining strap or cord if the product has one. Keep it controlled and within its intended use; a loose improvised cord can catch on other kit. Do not add a fastening that makes it difficult to remove the cap when needed. The goal is a workable arrangement, not attaching every item permanently to your body.
Change the plan when conditions demand it
If the wind makes the cap unstable during an outing, stop somewhere suitable and adjust or store it. Do not chase it towards a road, steep edge or uncertain ground if it blows away. A recoverable piece of kit is not worth turning a simple loss into a dangerous movement. Keep enough storage space to put it away securely.
Afterwards, note whether the problem was the cap’s fit, its interaction with a hood or the conditions themselves. A different adjustment may help one issue but cannot make every windy route appropriate. Clean and dry according to the label, then recheck the fastening before the next outing rather than assuming it remains in the position that worked previously.